
Everyone dreams of having a modern home, furnished with style and good taste. Among the tricks that can be used to furnish the house or apartment in the most elegant way possible and without too many financial commitments there is decorative plinth.
Decorative plinth it is the piece of wood, stone or different plastic materials that is mounted in the lower part of the walls of a room to protect them from impacts and humidity or to cover the joint between floor and wall. The term decorative batten is used less often, as it is still specific to the piece that connects the top of the wall to the ceiling.
Decorative plinth in the interior spaces it provides an air full of grace, slightly classic and a sobriety full of good taste. The variety of models decorative plinth existing on the market is diversified according to all possible interior design styles.
Preparation of necessary materials and tools
- First of all we need a measuring tape and a pencil to mark.
- However, a 90⁰ or 45⁰ angle cutter is required, depending on the type of joint needed. A fine-toothed saw, such as a hacksaw, will not tear the material while cutting.
- To finish the cut a decorative plinth You will need very fine sandpaper with a grit greater than 200 and a utility knife.
- To fix decorative plinth you will use Fixx&Go gluing glue and for the joints you will use Profixx glue. To be able to easily handle these hoses, which are standard sizes, you need to get a silicone hose gun.
- You get enough decorative plinth from the rigid polymer to finish every environment. Each piece of decorative plinth is 2 meters. Measure the exact perimeter of the room. When you order decorative plinth keep in mind that there are usually 5-10% losses in corner cuts. You will need to add this length to the quantity actually measured with the tape measure.
- For the finishing you will need a small wooden or plastic spatula and if it is necessary to repaint the plinth, so as not to stain the wall or floor, you will also need some paper tape to put on the perimeter of the plinth, both upper and lower.
Assembly of the decorative plinth
Before installing the baseboard, you need to decide how to join it at the corners. You will have internal or external corners, for both you will use a corner joint to allow the shape of the skirting to continue beyond the corner. To facilitate the operation, an angle cutter and a fine-toothed saw will be used.
Clean the surface on which the plinth will be glued, making sure it is dry, free of dust and traces of grease.
You have reached the first curve which is probably inside, i.e. closed. Mark on the back the length at which the cut must be made. Take note of the angle at which the cut is to be made. One way to do this is to leave a temporary mark on the plinth next to the cut mark. Always position the skirting boards so that you can cut them with the saw from the front, this way you will avoid damaging the skirting board during the operation. Hold the baseboard firmly in place and make the cut. When cutting long baseboards, use a temporary stand on the opposite end so that it lies flat against the base of the miter saw as you cut.
After cutting the first skirting board, you also need to cut the second one, making sure it forms a tight and correct joint. The uncut footing is pushed into the corner. The already cut plinth is also inserted and a mark is made where the plinths would intersect. This point is marked and cut after the line has been drawn that would join this point to the back corner of the plinth. It is always a good idea to clean the cut surface with fine sandpaper. If there is a small gap in the joint because the angle is not fixed 90⁰, note which part of the joint is preventing the fixed adjustment and use a utility knife to remove a small part of the clog so that the gap disappears.
Check the cuts and fit of the plinth. If necessary, sand the cuts with fine sandpaper, with a grain size greater than 200. Finally, remove the dust.
Try not to make a 45⁰ cut on both ends of the plinth, because if you make a mistake it could lose its length. It is easier to get a 90⁰ cut from a 45⁰ cut than vice versa.
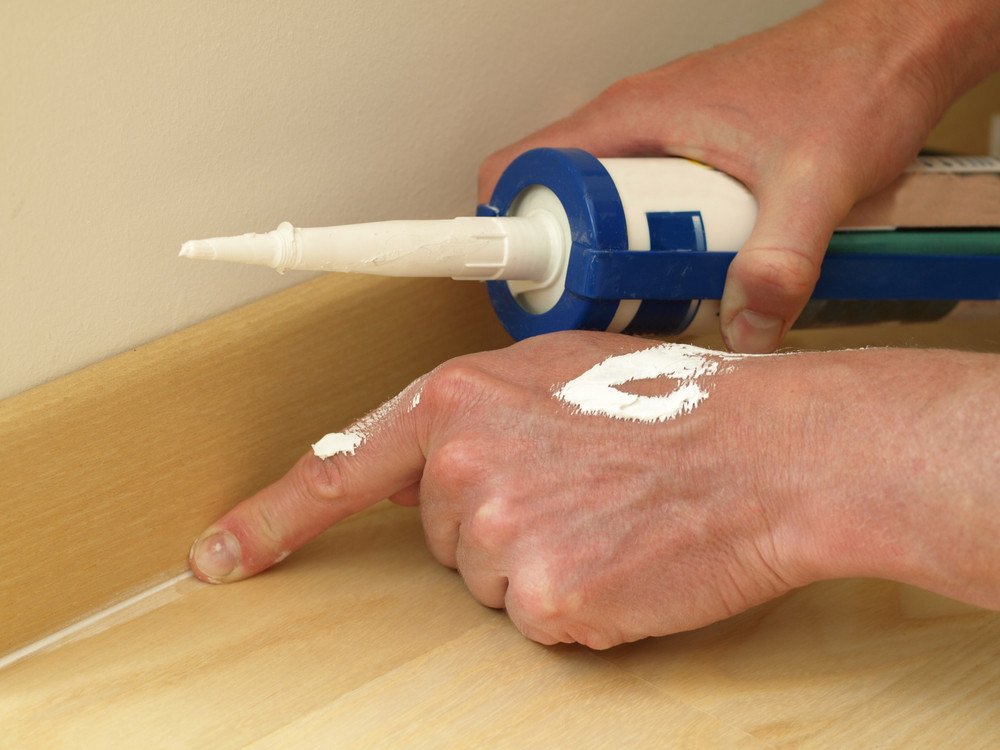
When fixing the plinth to the wall, use the Fixx&Go adhesive, which is applied to the back of the profile along its entire length, following the grooved gluing surfaces.
Attach the plinth to the wall in the intended place, holding it gently. Optionally it is possible to reinforce the grip with a pneumatic stapler. The plinths can be fixed to the wall either with clips or with targets, but the installation with adhesive is the best fixed and stable over time.
Apply Profixx adhesive when joining the profiles. After fixing, press one profile against the other until the excess adhesive protrudes by at least 1 mm. Remove excess adhesive using a wooden or plastic putty knife and a damp cloth.
After the adhesive has dried, i.e. after 2 – 8 hours, lightly sand the joints with fine sandpaper, grit greater than 200, and fill with Profixx joint adhesive. It is an elastic adhesive which over time, if the plinth works, will undergo the dimensional variations that occur due to temperature and humidity.
Also, once again fill the gaps between the baseboard and the wall with a thin line of Fixx&Go adhesive adhesive. The excess can also be removed with a wooden or plastic spatula and a damp cloth.
After a drying time of approximately 24 hours, proceed with the application of the primer and washable acrylic paint, protecting the wall and floor with paper tape.
To remember!
To avoid expansion or contractions due to variations in temperature and humidity, it is recommended to store the profiles in the room where they will be installed 24 hours before installation. Also make sure that they are not subject to changes in temperature and humidity during this period.
latest post

Furnishing a villa in Mogoșoaia for a family with three children

Stoneware and Terracotta in Neutral Shades

The Loft – an unconventional space created by Beelive

How did you discover your inclination towards the field of interior design?

Complex offer for beneficiaries
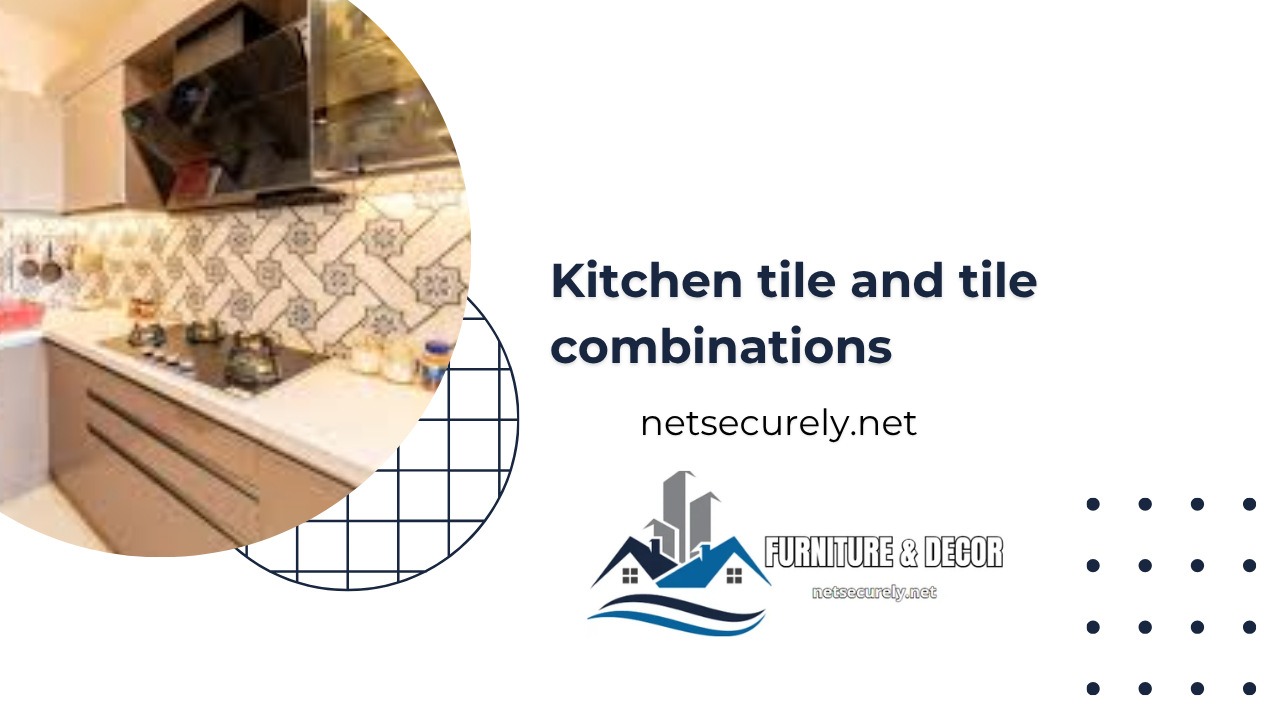
Kitchen tile and tile combinations

Choose the perfect idea to furnish your bathroom

How to correctly mount a decorative plinth
How to choose a background in the Room function