
Ceiling cornice Interior, also known as ceiling molding, is an architectural element that adds value to rooms and creates a special atmosphere. It adapts to both high-rise and medium- or low-rise spaces. Ceiling cornice it is the most widespread decorative profile, used to cover the junction between wall and ceiling. This seemingly simple ornament gives consistency to the design of the house, being considered almost indispensable, because it covers every imperfection between the wall and the ceiling. Ceiling cornice creates the sensation of additional height, increasing the perceived space of the room, and can be painted in any colour. Ceiling cornice or the corner wand is the ideal solution to quickly give the room elegance and personality.
What we need to know about the cornice
- Ceiling cornice It is characterized by the style of the furniture, there are many profiles that can adapt both to a classic, rococo or Florentine style, and to a modern or minimalist style.
- Ceiling cornice it has a rather important technical role, creating a bridge between the wall and the ceiling. Cracks usually occur in this area due to the different supports joining this line. Ceiling cornice elegantly masks this area.
- Depending on its role, the cornice can have a purely decorative role at the junction point between the wall and the ceiling, or it can cover the paths of the pipes or even the cables of a lighting system.
- The profile of the frame can be schematized in the form of a right triangle with the legs placed horizontally above and vertically, the lengths of these sides represent respectively how much it occupies on the ceiling and on the wall. This data is particularly important because it will characterize the covered space ceiling cornicecharacterizing it especially when it has to hide pipes or cables.
- We can also create bright furniture, which gives more dynamism to the atmosphere of a room, through the play of light. Behind these frames are mounted light bulbs that illuminate at different intensities. The effect is truly spectacular.
- The profile is made of high density polyurethane or extruded polystyrene, simple or with a design, impact-resistant profile, sandable and pre-primed profile and subsequently paintable.
- Extruded frames are very flexible and easily adapt to the contour of the walls.
- When calculating the length of the cornice to install in a room, we must take into account the perimeter of the room and the fact that they are sold in 2m strips.
- When joining the corners of the room, it is recommended to cut at 45⁰. It is advisable to cut with a saw with fine, serrated teeth, but it can also be done with a cutter.
- The cornice can visually change the proportions of a room, being able to raise or lower them, depending on the desired effect.
- We must not forget that when choosing the cornice there are recommendations on its height in relation to the surface area of the room and its height
| The height of the room | 2.4 – 2.5 m | 2.6 – 2.8 m | >= 3 m |
| The surface of the room | Recommended cornice height | ||
| 3 – 16MP | 60 – 70 mm | 80 – 100mm | +120 mm |
| 17 – 20 MP | 60 – 70 mm | 100 – 115mm | 120 – 150mm |
| 21 – 25 MP | 80 – 95mm | 120 – 135mm | +150 mm |
| >25mp | 80 – 100mm | 120 – 150mm | +150 mm |
- The adhesive adhesive that can be used is Fixx&Go, approx. 40-50 ml/m, adhesive that allows sanding, while Profixx joint adhesive is used for joining.
Preparation of necessary materials and tools
- Meter and pencil for marking are perhaps the first tools needed if we want to assemble ceiling cornice.
- However, a 90⁰ or 45⁰ angle cutter is required, depending on the type of joint needed. A saw with small, fine teeth, such as a hacksaw, will not tear the material while cutting.
- To finish the cut a ceiling cornice You will need very fine sandpaper with a grit greater than 200 and a utility knife.
- To fix it to the ceiling you definitely need a ladder suitable for the height of the room.
- To fix ceiling cornice you will use Fixx&Go gluing glue and for the joints you will use Profixx glue. To be able to easily handle these hoses, which are standard sizes, you need to get a silicone hose gun.
- You get enough ceiling cornice of high density polyurethane to finish any environment. Each piece of decorative plinth is 2 meters. Measure the exact perimeter of the room. When ordering the decorative plinth, please note that 5 to 10% losses usually occur when cutting corners. You will need to add this length to the quantity actually measured with the tape measure. Pay attention to frames with an ornamental motif because here the joint losses can be greater, depending on how many times the design is repeated, the continuity of the design must always be guaranteed.
- For the finishes you will need a small wooden or plastic spatula and if it is necessary to repaint the plinth, so as not to stain the wall or floor, you will also need some paper tape to put on the perimeter, both on the wall and on the ceiling.
Installation of decorative ceiling cornice
- Before the correction ceiling cornice the surfaces on which the profile will be glued must be clean. It is necessary to ensure that the surfaces are dry, free of dust or traces of grease.
- Cut the cornice at 45⁰ from the corner where you start fixing and continue with a straight cut for the rest of the joints. Use a 45⁰ miter table and a carpenter’s saw with small, coarse teeth for an accurate cut. If the length of the piece you are cutting is long, try to support the free end so you don’t cut incorrectly. For ceiling battens with more complicated patterns, be very careful about extending the cornice pattern.
- Check the cuts and the cornice framing to see if it fits well. Sand the cuts with fine sandpaper, grain greater than 200, finally removing the dust with a brush.
- Apply the Fixx&Go bonding adhesive to the back of the profile along its entire length, following the grooved bonding surfaces. It is necessary to use at least 40 – 50 ml/m of adhesive adhesive. So you won’t roll out in a straight line, the glue will roll out along a fairly narrow wavy line.
- Glue the frame in place, pressing it firmly. Optionally you can strengthen the grip with a pneumatic stapler.
- Apply Profixx adhesive where the profiles join. After fixing, press one profile against the other, until the excess adhesive protrudes by at least 1 mm. Remove excess adhesive using a wooden or plastic putty knife and a damp cloth.
- After the adhesive has dried, between 2 and 8 hours depending on the temperature and humidity of the atmosphere, lightly sand the joints with fine sandpaper, above 200 grit, and fill with Profixx joint adhesive. Also, refill the gaps between the frames and the wall or ceiling, as appropriate, with thin strips of Fixx&Go adhesive adhesive. The excess can be removed with a spatula and a damp cloth. After drying for 24 hours, protect the wall and ceiling with paper tape and apply primer and washable acrylic paint.
Important! To avoid expansion or contraction of the profiles due to variations in temperature and humidity, it is advisable to store them in the room where they will be installed for approximately 24 hours before installation. Also ensure that they are not subject to extreme variations in temperature and humidity during storage.
latest post

Furnishing a villa in Mogoșoaia for a family with three children

Stoneware and Terracotta in Neutral Shades

The Loft – an unconventional space created by Beelive

How did you discover your inclination towards the field of interior design?

Complex offer for beneficiaries
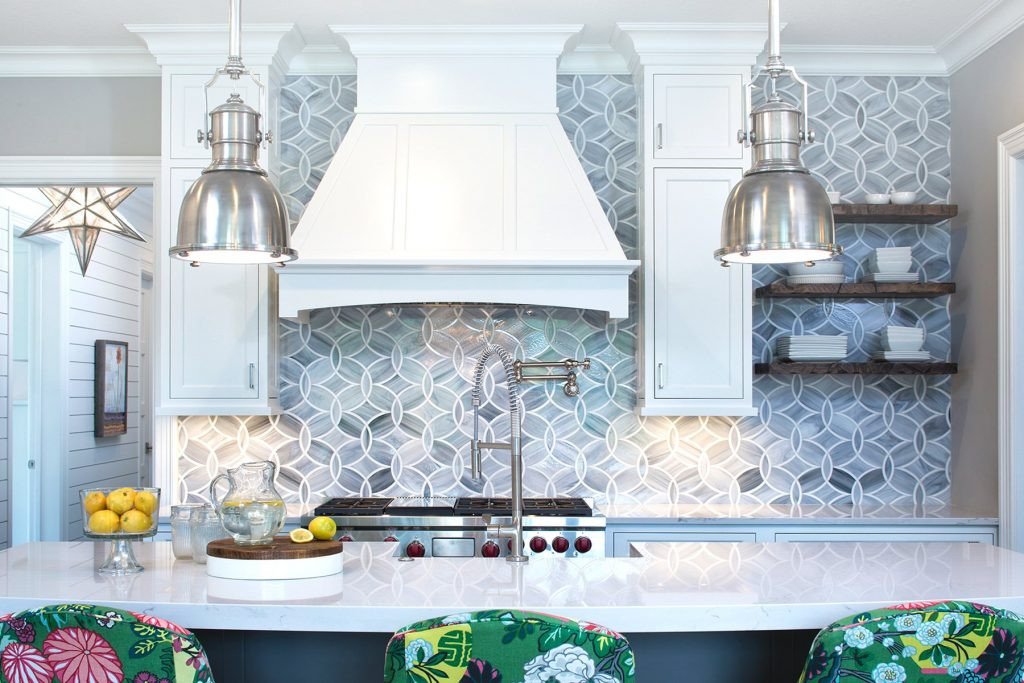
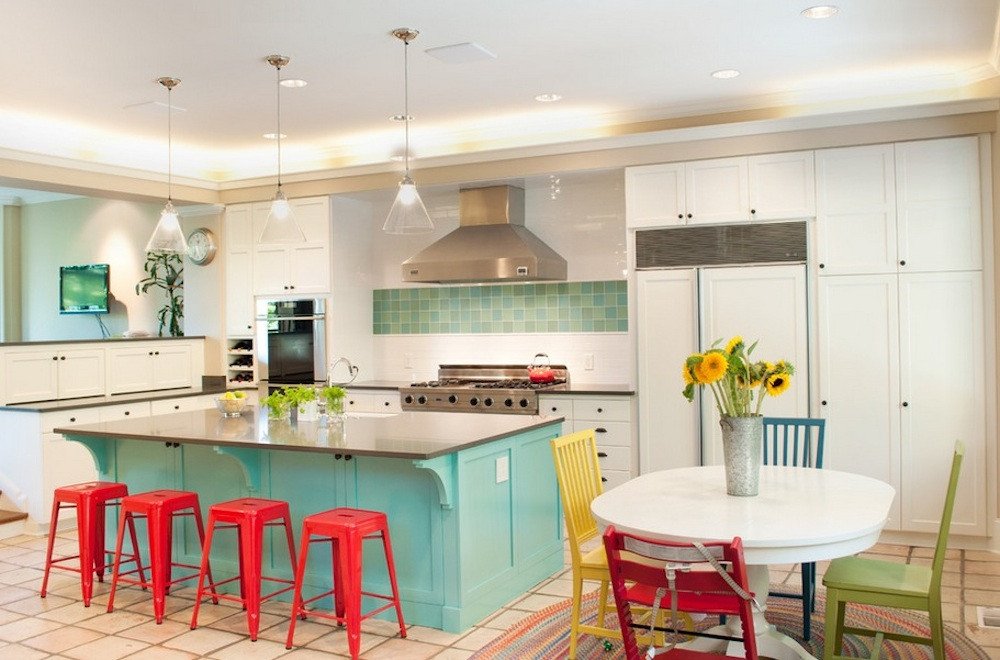
Kitchen tile and tile combinations

Choose the perfect idea to furnish your bathroom

How to correctly mount a decorative plinth
How to choose a background in the Room function